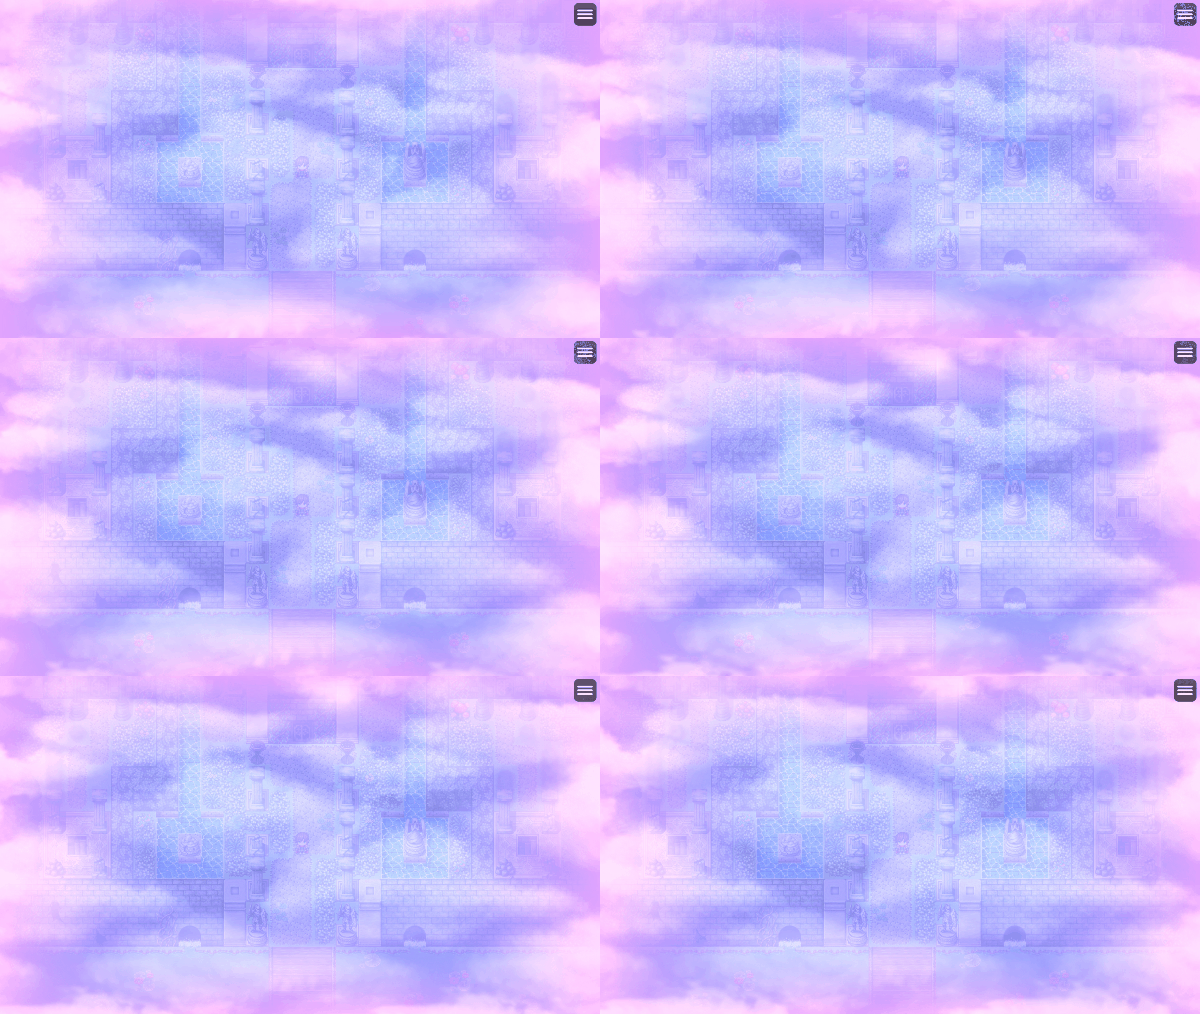
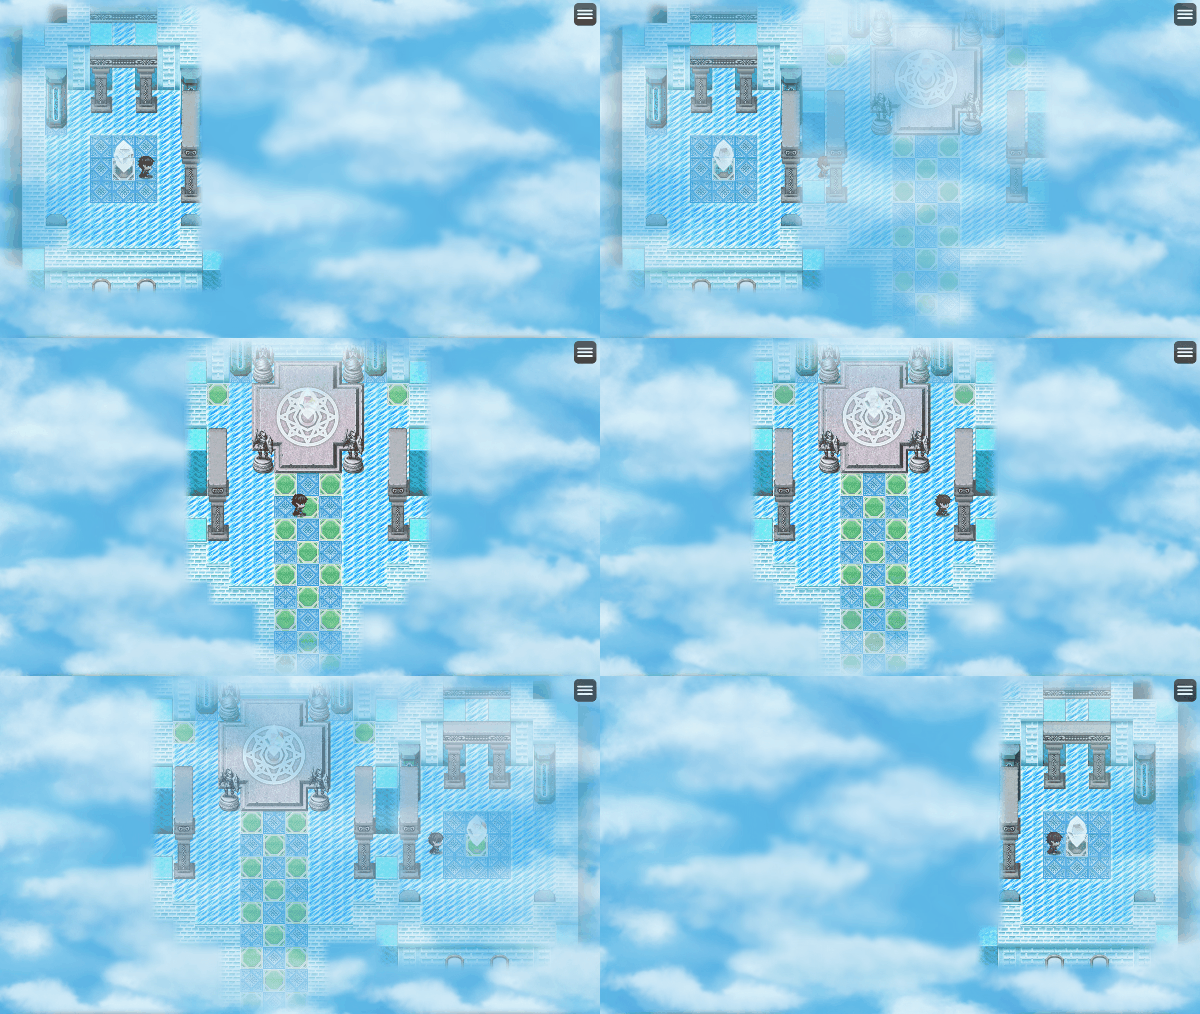
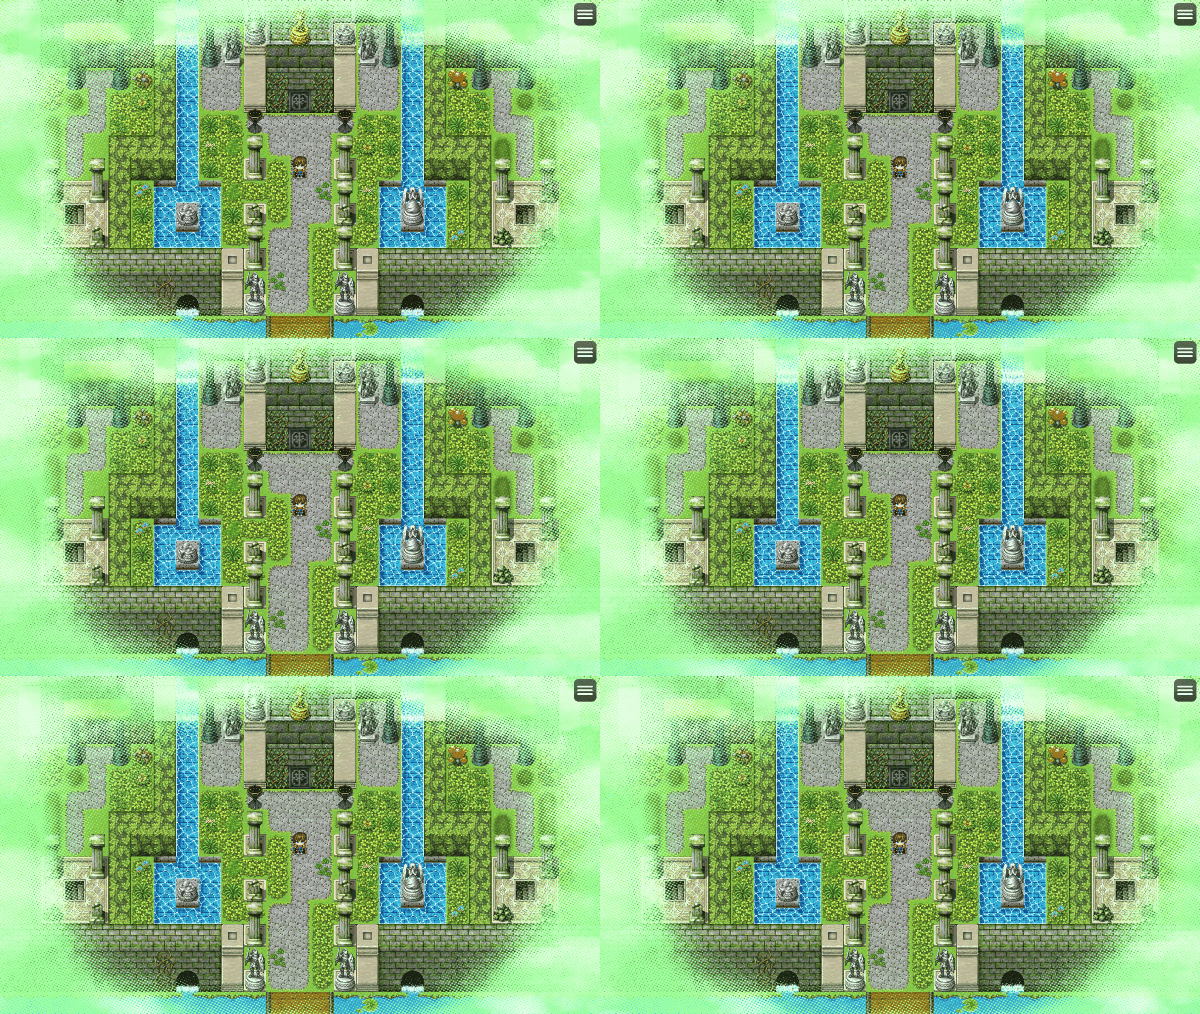
Template:VisuMZ Visual Fogs Notetags
Jump to navigation
Jump to search
The following are notetags that have been added through this plugin. These notetags will not work with your game if this plugin is OFF or not present.
---
Fog-Related Notetags
---
<Fog id Settings>
 Name: filename
 optional property
 optional property
 optional property
</Fog id Settings>

- Used for: Map Notetags
- Creates a regular fog layer for this map by default.
- Replace 'id' with a number value to assign to the fog.
  - Plugin Commands will refer to this ID for changes and removal.
- The 'Name' setting is required. Without it, no fog will be made.
  - Replace 'filename' with the filename of the image you want to use as
    a fog found in the game project's img/parallaxes/ folder.
  - Do not include the file extension.
- Insert as many of the optional properties as you want. You can find a list
  of them in the section below.
---
Optional Properties
Replace the 'optional property' segment of the notetags above with any of the text below to acquire their effects. You can add/remove as many of the optional properties as you need.
---
Horz Scroll: x
Vert Scroll: y

- This enables horizontal or vertical scrolling for the fog.
- Replace 'x' or 'y' with a Number value to determine how fast they will
  scroll across the screen.
- Use a negative value to make them scroll the other way.
- These effects are mutually exclusive from the "Map Locked" property.
---
Map Locked

- This will cause the fog to only scroll when the map scrolls.
- This has the same effect as naming a fog with "!" in front of
  its filename.
- If the filename used for this fog has "!" in front of it, the
  Map Locked effect will be automatically turned on.
- These effect is mutually exclusive from the "Horz Scroll" and
  "Vert Scroll" properties.
---
Opacity: x
Opacity: x%

- Changes the opacity level of the fog.
- Replace 'x' with a number from 0 to 255 representing the opacity level.
- Replace 'x%' with a percentage from 0% to 100% representing the opacity.
---
Blend Mode: Normal
Blend Mode: Additive
Blend Mode: Multiply
Blend Mode: Screen

- Sets the blend mode for the icon on the fog.
- Use only one of the above.
---
Hue: x
Hue Shift: x

- Changes the hue of the fog to 'x' so that you don't need to create
  multiple copies of the files with different colors.
- Replace 'x' with a number value between 0 and 360.
- If the "Hue Shift" property is also used, then adjust the hue of the
  fog each frame by 'x' amount.
  - 'x' can be positive or negative.
---
Color Tone: red, green, blue, gray

- Changes the color tone or tint of the fog.
- Replace 'red', 'green', 'blue' with a value between -255 and 255.
- Replace 'gray' with a value between 0 and 255.
---
Region: id
Regions: id, id, id

- Forces the fog to only become visible on tiles marked regions with a
  matching ID (alongside valid terrain tags).
- If this isn't used, then the fog will be as large as the screen.
- Replace 'id' with a region ID between 1 and 255.
  - Region 0 is ignored and will not work.
- Insert multiple ID's to mark more tiles the fog can appear on.
- This feature cannot be used with Vignettes.
- WARNING: This WILL cause longer load times on larger maps.
---
Terrain Tag: id
Terrain Tags: id, id, id

- Forces the fog to only become visible on tiles marked terrain tags
  with a matching ID (alongside valid regions).
- If this isn't used, then the fog will be as large as the screen.
- Replace 'id' with a terrain tag ID between 1 and 7.
  - Terrain tag 0 is ignored and will not work.
- Insert multiple ID's to mark more tiles the fog can appear on.
- This feature cannot be used with Vignettes.
- WARNING: This WILL cause longer load times on larger maps.
---
Tile Blur: x

- Determines how soft the borders are around the revealed fog tiles.
- Use larger numbers to blur them more.
- Use a value of zero to remove any blur.
---
Tile Spill: x

- Determines how much larger to make the revealed fog tiles.
- Use larger numbers to spill more and make the tiles larger.
- Use a value of zero to not spill at all and use the exact tile sizes.
---
Vignette: type

- Makes the fog appear along the edge of the screen rather than the entire
  visible game screen.
- Replace 'type' with any of the following:
  - Border
  - Horizontal
  - Vertical
  - Upper
  - Lower
  - Left
  - Right
---
Custom Vignette: filename

- Allows you to use a custom parallax image as a vignette.
- Replace 'filename' with the filename of the image you want to use as
  a vignette found in the game project's img/parallaxes/ folder.
  - Do not include the file extension.
- Custom vignettes are used as masks.
  - White areas on the image determine the visible parts of the fog.
  - Black areas on the image determine the invisible parts of the fog.
---


