Category:Comment Tags (MV)
Jump to navigation
Jump to search
|
Welcome to the wiki! This is where you can find resources from Yanfly.moe, Ækashics.moe,
VisuStella, Caz Wolf, Fallen Angel Olivia, Atelier Irina, and other affiliated content creators.
VisuStella, Caz Wolf, Fallen Angel Olivia, Atelier Irina, and other affiliated content creators.
Contents
|
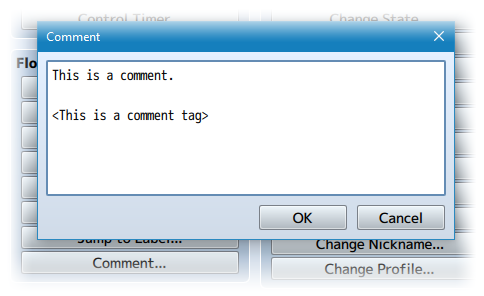
Comment Tags are similar to Notetags. RPG Maker MV's editor is unable to allow for custom traits/properties that a game dev may wish to associate with an event or common event. Comment Tags are used to work around such limitations by allowing the game dev to tag certain traits/properties using specific Comment Tags declared by the related plugin. Here is a list of Comment Tag(s) that you may use. Battle BGM ControlTo make a specific battle play a certain BGM upon loading the battle, make a comment in one of the Troop's event pages. Insert the following comment tags to have it trigger a specific BGM to play when the battle starts. Troop Event Comment Tags: <Battle BGM Name: filename> - Replace 'filename' with the filename of the BGM you wish to play at the start of battle without the file extension. The filename is also case sensitive. For example, if you wish to play Battle3.m4a, replace 'filename' with only 'Battle3' and no '.m4a' in the tag. This is the only required tag. Once this tag is detected, only the remainder of the event page will be scanned. Other pages in the troop will be ignored. <Battle BGM Volume: x> - Replace 'x' with a number between 0 and 100. This determines the volume of the BGM being played when the battle starts. This is an optional tag. If not used, it will default to a volume of 90. <Battle BGM Pitch: x> - Replace 'x' with a number between 0 and 100. This determines the pitch of the BGM being played when the battle starts. This is an optional tag. If not used, it will default to a pitch of 0. <Battle BGM Pan: +x> <Battle BGM Pan: -x> - Replace 'x' with a number between -100 and 100. This determines the pan of the BGM being played when the battle starts. This is an optional tag. If not used, it will default to a pan of 0. Common Event MenuCommon Events in RPG Maker MV do not have their own notetags. So to make up for that, we'll be using comments instead. Simply create a comment event within the common event that will be used inside of the menu and use any of these comment tags: Common Event Comment Tags: <Menu Name: x> - This changes the appearance of the common event's text when displayed in the common event menu list. If this tag isn't used, the text displayed will be the common event's name. You can use text codes. <Icon: x> - This changes the icon of the common event to x. If this tag isn't used, the icon used will be the one set in the plugin's parameters. <Picture: x> - This sets a picture to be associated with this common event when it is highlighted. If this isn't used, no picture will be displayed and it will be left empty. <Help Description> text text </Help Description> - This sets the help description used for the common event when it is selected in the common even menu list. If this tag isn't used, the text displayed will be the default text from the plugin's parameters. <Subtext> text text </Subtext> - This sets the subtext used for the common event menu's subtext window while this common event is selected in the common event menu list. If this text isn't used, the text displayed will be the default text from the plugin's parameters. Event Click TriggerTo make an event click triggerable from anywhere on the screen, use either notetags or comment tags to enable them to become clickable. If a notetag is used, then this will apply to the whole event, no matter what page it is. If only comment tags are used, it will only apply to that specific event page. Event Notetag and Comment Tags <Click Trigger> - This will cause the event to be clickable from afar without needing the player to walk all the way up in front of it to trigger it. Event Hitbox ResizeTo make an event's hitbox larger, use either notetags or comment tags to apply the hitbox enlargement. If a notetag is used, this will apply to the event no matter what the page is. If a comment tag is used, it will overwrite whatever setting the notetags have. Event Notetag and Comment Tags: <Hitbox Up: x> <Hitbox Left: x> <Hitbox Right: x> <Hitbox Down: x> - This will expand the hitbox upward, left, right, or down by x. The value inserted for x will extend the hitbox that direction by that many tiles. If any of these notetags are used, it will make the event immobile, unable to move unless the movement type is set to "Through", allowing it to pass through anything. Event Mini LabelComment tags are 'notetags' used within the lines of an event's comments. The reason I'm using the comment tags instead of the notetags is because each page of an event can yield a different potential name. To use this, make a comment within the event you wish to make the mini label for and insert the following: <Mini Label: text> This will display the 'text' above the event. You can use text codes for this comment tag and it will create dynamic messages. <Mini Label Font Size: x> This will change the font size used for the mini label to x. If this tag isn't used, the font size will be the default value in the parameters. <Mini Label X Buffer: +x> <Mini Label X Buffer: -x> This will adjust the X buffer for the mini label by x value. If this tag isn't used, the X buffer will be the default value in the parameters. <Mini Label Y Buffer: +x> <Mini Label Y Buffer: -x> This will adjust the Y buffer for the mini label by x value. If this tag isn't used, the Y buffer will be the default value in the parameters. <Always Show Mini Label> This will make the mini label to always be shown, even when the plugin command to hide mini labels is used. <Mini Label Range: x> The player will have to be within x tiles of this event in order for the mini label to appear visibly. <Mini Label Require Facing> This will require the player to be facing the direction of the event in order for the mini label to appear. Event Proximity ActivateBy default, each event page has zero proximity features. They have to be added manually per event page using comment tags. You can use the following comment tags to give each event page a proximity activation range. --- Comment Tags: <Activation Square: x> - Creates an activation range around the event in the form of a square, x tiles to the left, right, above, and below the event. This makes the activation range look like a square. <Activation Radius: x> - Creates an activation range around the event requiring the player to be within x tiles of the event (difference of x and y positions). Think of this more like a diamond. <Activation Row: x> - Creates an activation range spanning horizontally from the event. The row's horizontal range is the whole map, but the vertical range is x tiles above and below the event. If x is 0, then the player must be exactly on the same vertical tile as the event. <Activation Column: x> - Creates an activation range spanning vertically from the event. The row's vertical range is the whole map, but the horizontal range is x tiles left and right of the event. If x is 0, then the player must be exactly on the same horizontal tile as the event. --- Event proximity activations behave differently depending on the event page's trigger type. Here is how the event page will activate based on the trigger: Action Button - As long as the player is within the event's proximity range, pressing the OK button will activate the event. Player Touch - If the player moves within the event's proximity range, the event will automatically activate. This will not occur if the event moves into range of the player, however. The player can also press the OK button to trigger the event. Event Touch - If the player moves within the event's proximity range or vice versa, the event will automatically activate. The player can also press the OK button to trigger the event. Autorun - If the player moves within the event's proximity range or vice versa, the event will automatically activate. There is no escaping this autorun unless you have a way of turning it off. Parallel - If the player moves within the event's proximity range or vice versa, the event will automatically activate. The player is granted a few frames of movement each time the parallel process loops. Event Region TriggerBy default, event pages have no Region Triggers. They have to be added manually per event page using comment tags. You can use the following comment tags to give each event page a region trigger. --- Comment Tags: <Region Trigger: x> <Region Triggers: x, x, x> - Replace 'x' with the ID's of the regions you wish to let the event trigger if the player is standing within a tile with that region ID and triggering the event page's activation trigger requirements. --- Event region triggers behave differently depending on the event page's trigger type. Here is how the event page will activate based on the trigger: Action Button - As long as the player is within the matching region ID, pressing the OK button will activate the event. Player Touch - If the player moves within the matching region ID, the event will automatically activate. The player can also press the OK button to trigger the event. Event Touch - If the player moves within the matching region ID, the event will automatically activate. The player can also press the OK button to trigger the event. Autorun - If the player moves within the matching region ID, the event will automatically activate. There is no escaping this autorun unless you have a way of turning it off. Parallel - If the player moves within the matching region ID, the event will automatically activate. The player is granted a few frames of movement each time the parallel process loops. Event Sprite OffsetTo offset sprites using comments, make comments for each event page you want the sprite to be offset in using the comment tags below: Comment Tags: <Sprite Offset X: +n> <Sprite Offset X: -n> - Replace 'n' with the number of pixels you wish to offset the horizontal position of the sprite by. A positive number moves the sprite to the right. A negative number moves the sprite to the left. *NOTE*: This will take priority over event notetag sprite offsets. <Sprite Offset Y: +n> <Sprite Offset Y: -n> - Replace 'n' with the number of pixels you wish to offset the vertical position of the sprite by. A positive number moves the sprite down. A negative number moves the sprite up. *NOTE*: This will take priority over event notetag sprite offsets. <Sprite Offset: +x, +y> <Sprite Offset: -x, -y> - If you wish to put sprite offset information on one line, use the above comment tag instead. Replace 'x' and 'y' with the values to offset the sprite by. Positive x will move the sprite right. Negative x will move the sprite left. Positive y will move the sprite down. Negative y will move the sprite up. *NOTE*: This will take priority over event notetag sprite offsets. Event Step Animation OptionsTo offset sprites using comments, make comments for each event page you want the sprite to be offset in using the comment tags below: Comment Tags: <Step Animation: Left to Right> - Makes the event sprite's step behavior go from frame 0 to 1 to 2, then back to 0 instead of looping backwards. *NOTE*: This will take priority over event notetag step animations. <Step Animation: Right to Left> - Makes the event sprite's step behavior go from frame 2 to 1 to 0, then back to 2 instead of looping forwards. *NOTE*: This will take priority over event notetag step animations. <Step Animation: Spin Clockwise> <Step Animation: Spin CW> - Makes the event sprite's step behavior spin itself clockwise. *NOTE*: This will take priority over event notetag step animations. <Step Animation: Spin CounterClockwise> <Step Animation: Spin CCW> <Step Animation: Spin AntiClockwise> <Step Animation: Spin ACW> - Makes the event sprite's step behavior spin itself counterclockwise. *NOTE*: This will take priority over event notetag step animations. Icons on EventsThe easiest way to attach icons to events would be to use notetags and/or comment tags. Using notetags will make the icon always attached to the event while using comment tags will make the icon attached to the event only if the page containing the comment tag is active. <Icon on Event: n> - Replace 'n' with the icon you wish to attach to the event. <Icon on Event Buffer X: +x> <Icon on Event Buffer X: -x> - Replace 'x' with the buffer amount for X. For X, a negative number moves it left and a positive one moves it right. <Icon on Event Buffer Y: +y> <Icon on Event Buffer Y: -y> - Replace 'y' with the buffer amount for Y. For Y, a negative number moves it up and a positive one moves it down. <Icon on Event Buffer: +x, +y> <Icon on Event Buffer: -x, -y> - Replace 'x' and 'y' with the respective buffer values you wish to apply. For X, a negative number moves it left and a positive one moves it right. For Y, a negative number moves it up and a positive one moves it down. Keep in mind these notetags and comment tags only work for events. They do not work on the player character. If you wish to apply icons to the player character, you'd have to use one of the methods below. Keyboard ConfigIf you're using Button Common Events, you can make certain Common Events able to be bound to the keyboard using Comment Tags. To make a Comment Tag, use a Comment Event inside of your Common Event, and insert the following to achieve the desired effect: Comment Tag: <Config Key: text> This is the text displayed on the keyboard if this common event is bound to a keyboard key. If this text isn't used, then the text displayed will be the common event's name. <Config Text: text> This is the text displayed when selecting a key to bind for the keyboard key. This is the text displayed in the selection list. If this text isn't used, then the text displayed will be the common event's name. <Config Required> This makes the common event required to be bound on the keyboard before the player can exit the configuration menu. In order for this to work properly, there needs to be a Button Common Event bound for this common event as well. Proximity Compass
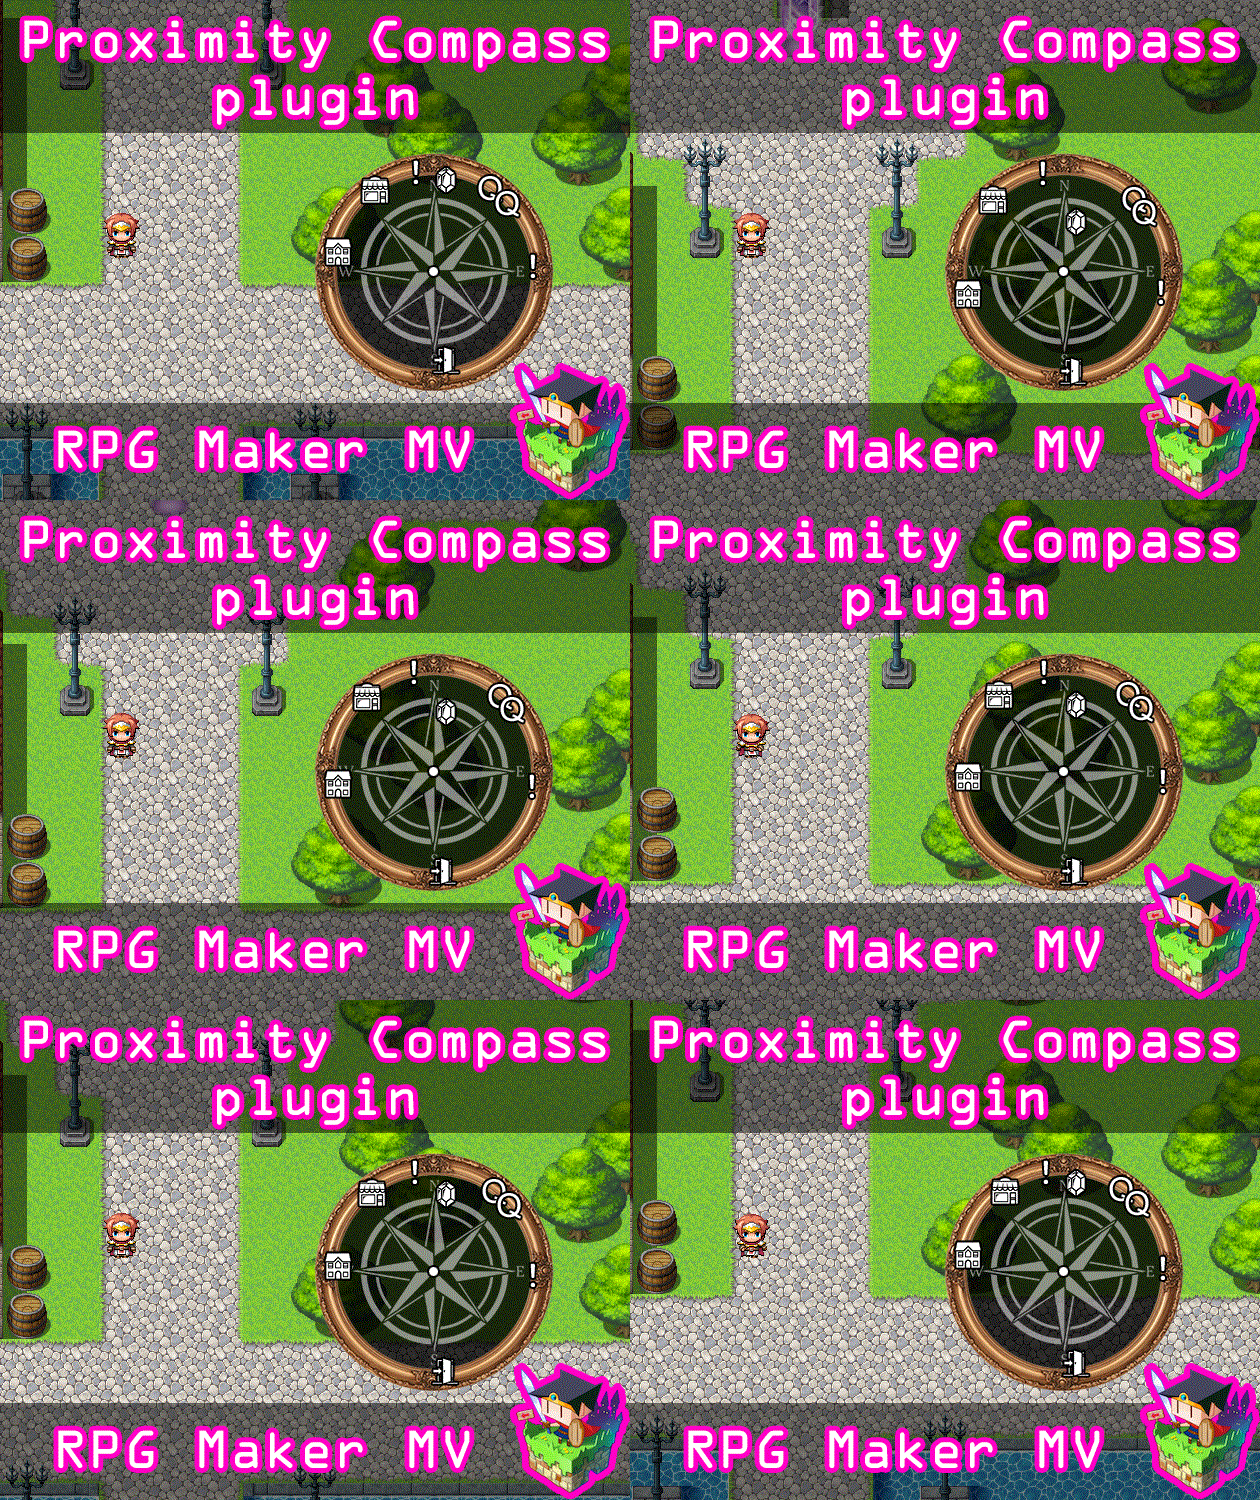
<Compass Icon: x>
- This will set the event's icon to x.

<Compass Proximity: x>
- This icon will only appear on the compass if the player is within x tiles.
Synchronized Event Movement
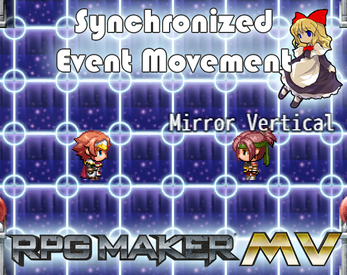
This plugin uses Comment Targets. First, open up the event and page you want to synchronize with a target. Then create a comment in it. Use the following text inside the comment for the desired effect: <Move Synch Target: Player> <Move Synch Target: Event x> - This will synchronize this event's movement with the player or event x. - When using event x, replace 'x' with ID of event. - If this comment tag isn't present, the event will not synch movements. <Move Synch Type: Random> <Move Synch Type: Approach> <Move Synch Type: Away> <Move Synch Type: Custom> <Move Synch Type: Mimic> <Move Synch Type: Reverse Mimic> <Move Synch Type: Mirror Horizontal> <Move Synch Type: Mirror Vertical> - This will change the behavior of a synchronized event. - Random: Events will move in random but valid directions. - Approach: Events will approach their targets. - Away: Events will move away from their targets. - Custom: Events will follow the page's assigned custom move route. - Mimic: Events will move the same direction their targets move. - Reverse Mimic: Events will move the opposite direction of their targets. - Mirror Horizontal: Events will move as if there's a horizontal mirror. - Mirror Vertical: Events will move as if there's a vertical mirror. - If this comment tag isn't present, the event will default to 'random'. <Move Synch Delay: x> - Replace 'x' with the number of steps to wait for the target to move before it moves itself. For example, if x is 2, then the event will move once every time the target moves 2 steps. - If this comment tag isn't present, the event will default to 1 step. |
Pages in category "Comment Tags (MV)"
The following 12 pages are in this category, out of 12 total.
