Weapon Swap System (Olivia)


|
VisuStella, Caz Wolf, Fallen Angel Olivia, Atelier Irina, and other affiliated content creators.
Contents
Download
System
This is a plugin created for RPG Maker MV.
For help on how to install plugins, click here.
For help on how to update plugins, click here.
Got errors with your RPG Maker MV plugin? Click here.
Fallen Angel Olivia

This is a plugin created by Fallen Angel Olivia.
You can also follow Fallen Angel Olivia on itch.io.
RPG Maker Version
This plugin is made for RPG Maker MV versions 1.6.1 and below. If you update RPG Maker MV past that and this plugin breaks, I am NOT responsible for it.
Terms of Use
You are only allowed to use the plugins made by Atelier Irina if you agree to all of the following:
- These plugins may be used in free or commercial games.
- 'Fallen Angel Olivia' must be given credit in your games.
- You are allowed to edit the code.
- Do NOT change the filename, parameters, and information of the plugin.
- You are NOT allowed to redistribute these Plugins.
- You may NOT take code for your own released Plugins.
OctoPack Battler
This plugin is a part of the OctoPack Battler plugin series!
Introduction

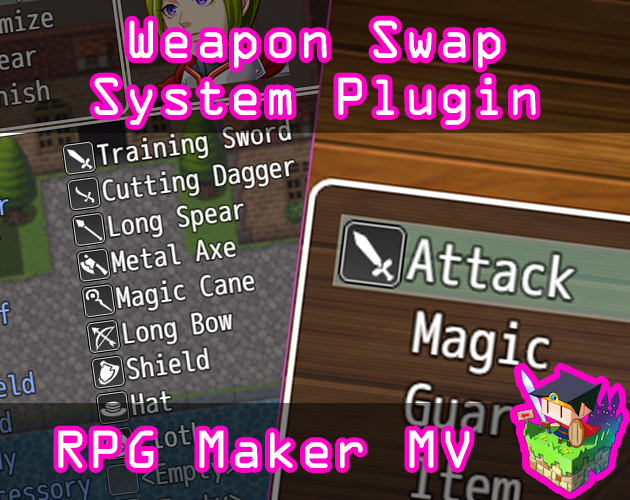
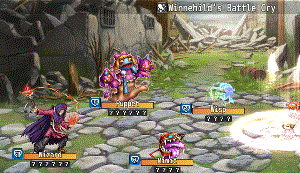
This is a RPG Maker MV plugin that will give your game's actors the function to swap weapons in the middle of the fight. Up to one of each weapon type can be equipped at a time and they can be switched out each turn. Swapping weapons can let the player team adapt to certain situations better or giving them the ability to hit certain weapon weaknesses in battle.
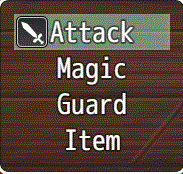
This plugin changes both something inside battle and outside of battle. The Attack command option can now have the weapon being used swapped by pressing left or right (if that option is turned on). Some skills can also automatically switch to a weapon when it starts being used.
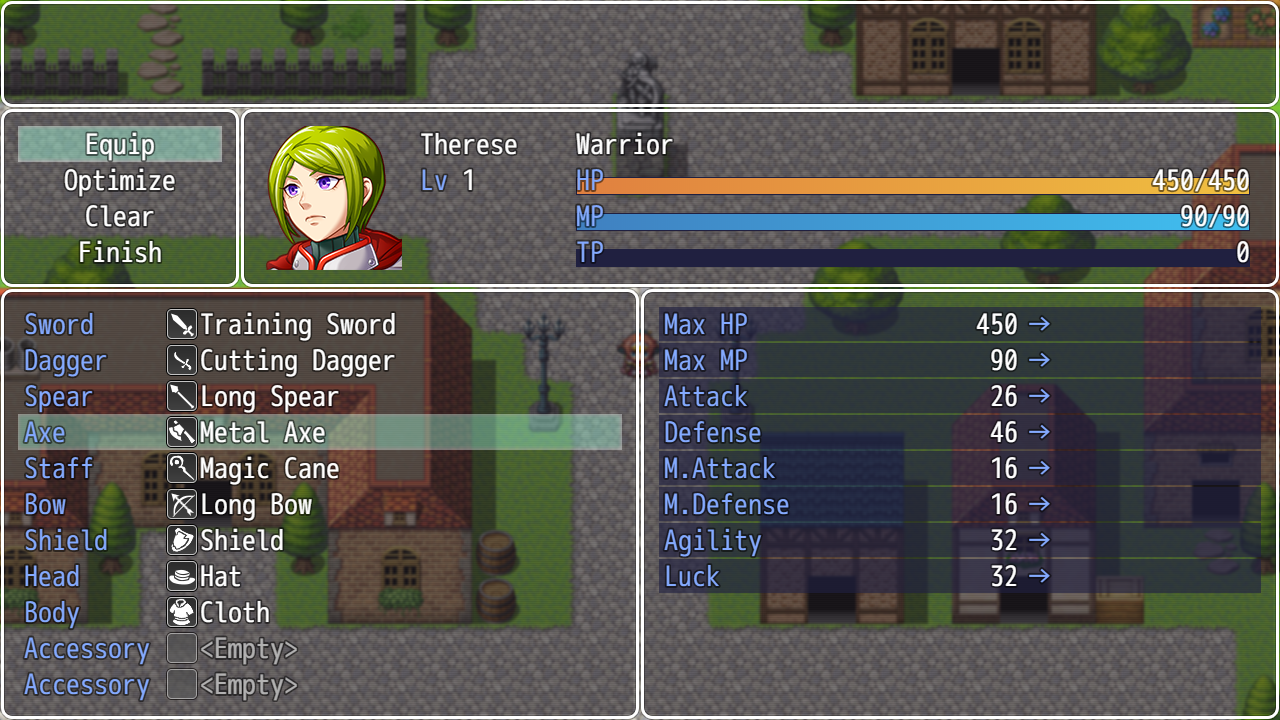
The other change is in the Equip menu. Instead of having only a single weapon slot, there is now one weapon slot for each of the weapon types. Each actor can equip a weapon of that type into those slots if they can use those weapon types.
There will be a warning though. This feature does not work with the Dual Wield system so it is disabled in order to be able to swap weapons.
Some plugin parameters require your attention. Please read through and configure them to customize weapon swapping for your game.
Plugin Parameters
There are Plugin Parameters that you may configure for this plugin.
Battle Control

Swap Command: How command for how Weapon Swap is displayed
Show Command?: Show the Weapon Swap Command in the Actor Command Window? Turn this on if you are making your game for mouse control because there is no other way to switch weapons without using the arrow keys.
Use Arrow Swapping?: Use Arrow Keys to control weapon swapping? If on, then pressing left or right will switch the weapon currently equipped in the order of the Weapon Types list in the Database's Types tab.
Show Swap Arrows?: Shows arrow sprites next to the Attack command to tell the player that pressing Left or Right here can have an effect.
Battle Test Weapons: During battle test, equip each party member with one of each weapon type. The weapon selected will be the first available one in the database unless they already have that weapon equipped.
Visuals
Show Battle Icons: Show icons of currently equipped weapons in battle? This will show the icon next to the Attack command, making it easier for the player to know which weapon the actor has currently equipped.

Show Battle Action: Show animation of actor switching weapons? This is for sideview only. When weapon switching is done during Attack switching, the actor will perform an attack motion to display the weapon it is currently equipped with.
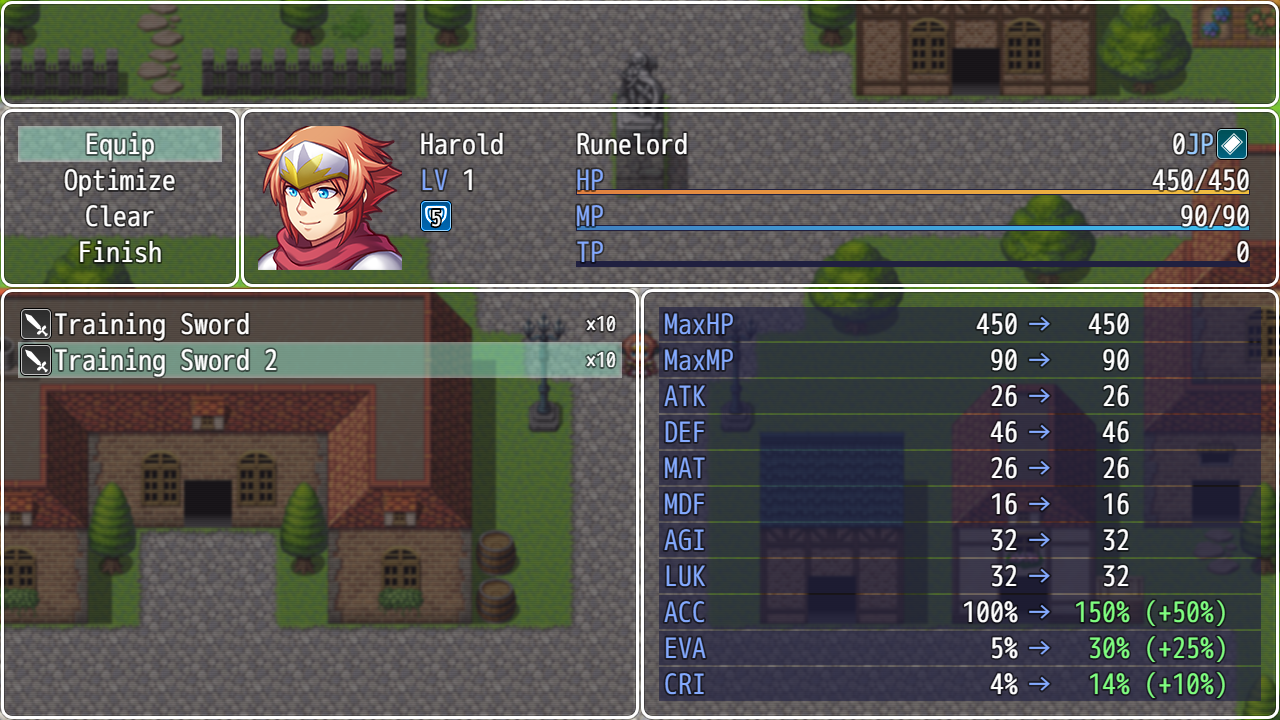
Extend Equip Stat Window: If you are using Yanfly's Equip Core, this will extend the stat compare window to have Hit Accuracy, Evasion, and Critical.
Notetags

RPG Maker MV's editor is unable to allow for custom traits/properties that a game dev may wish to associate with a database object, event, map, etc. Notetags are used to work around such limitations by allowing the game dev to tag certain traits/properties using specific Notetags declared by the related plugin.
Here is a list of Notetag(s) that you may use.
---
Skill and Item Notetags:

<Switch to Weapon: x>
<Switch to Weapon: text>
When the actor uses this skill or item, the actor will switch to this
weapon if it is equipped when the skill cost is paid. x is the weapon
type ID and text is the weapon name. If you use the weapon name, type
it out exactly since it is case sensitive. This notetag does not make
the weapon a requirement. To make it a requirement, use the database's
"Required Weapon" dropdown lists to enforce the requirement.

Skill Notetags:

<Require Any Weapon>
Requires any kind of weapon to be equipped in order to use it.

<Require Weapon Types: x>
<Require Weapon Types: x, x, x>
Insert multiple x to add more weapon types. All of the weapon types must
be equipped in order for this skill to be used.
Action Sequences
These are action sequences that you can use with this plugin. Action Sequences will require Yanfly's Battle Engine Core to work.
Action Sequences - ala Melody
Battle Engine Core includes Yanfly Engine Melody's Battle Engine system, where each individual aspect of the skill and item effects can be controlled to a degree. These are called Action Sequences, where each command in the action sequence causes the game to perform a distinct individual action.
Each skill and item consists of five different action sequences. They are as follows:
- 1. Setup Actions
- They prepare the active battler before carrying out the bulk of the action
and its individual effects. Usually what you see here are things such as the active battler moving forward a bit, unsheathing their weapon, etc. This step will occur before the active battler expends their skill or item costs.
- 2. Whole Actions
- These actions will affect all of the targets simultaneously. Although this
section does not need to be used, most actions will use this for displaying animations upon all enemies. This step occurs after skill and item costs.
- 3. Target Actions
- This section will affect all of the targets individually. Used primarily
for physical attacks that will deliver more personal forms of damage. Actions that occur here will not affect other targets unless specifically ordered to do so otherwise.
- 4. Follow Actions
- This section will dedicate towards cleanup work after the individual
targeting actions. Here, it'll do things such as removing immortal flags, start up common events, and more.
- 5. Finish Actions
- This section will have the active battler close up the action sequence.
Usually stuff like running waits and holds at the last minute for skills and items, moving back to place, and others.
Now that you know each of the five steps each action sequence goes through, here's the tags you can insert inside of skills and items. Pay attention to each tag name.
1. <setup action>
    action list
    action list
   </setup action>

2. <whole action>
    action list
    action list
   </whole action>

3. <target action>
    action list
    action list
   </target action>

4. <follow action>
    action list
    action list
   </follow action>

5. <finish action>
    action list
    action list
   </finish action>
They will do their own respective action sets. The methods to insert for the action list can be found below in the core of the Help Manual.
Furthermore, to prevent overflooding every single one of your database item's noteboxes with action sequence lists, there's a shortcut you can take to copy all of the setup actions, whole actions, target actions, follow actions, and finish actions with just one line.
<action copy: x:y>
Replace x with "item" or "skill" to set the type for the action list code to directly copy. The integer y is then the ID assigned for that particular object type. For example, to copy 45th skill's action sequences, the code would be <action copy: skill:45> for anything that will accept these action codes. If you do use this notetag, it will take priority over any custom that you've placed in the notebox.
Target Typing
You may notice that in some of the actions below will say "refer to target typing" which is this section right here. Here's a quick run down on the various targets you may select.
| user | This will select the active battler. |
| target, targets | These will select the active targets in question. |
| actors, existing actors | These will select all living actors. |
| all actors | This will select all actors including dead ones. |
| dead actors | This will select only dead actors. |
| actors not user | This will select all living actors except for the user. |
| actor x | This will select the actor in slot x. |
| character x | This will select the specific character with actor ID x. |
| enemies, existing enemies | This will select all living enemies. |
| all enemies | This will select all enemies, even dead. |
| dead enemies | This will select only dead enemies. |
| enemies not user | This will select all enemies except for the user. |
| enemy x | This will select the enemy in slot x. |
| friends | This will select the battler's alive allies. |
| all friends | This will select the all of battler's allies, even dead. |
| dead friends | This will select the battler's dead allies. |
| friends not user | This will select the battler's allies except itself. |
| friend x | This will select the battler's ally in slot x. |
| opponents | This will select the battler's alive opponents. |
| all opponents | This will select the all of the battler's opponents. |
| dead opponents | This will select the battler's dead opponents. |
| opponent x | This will select the battler's opponent in slot x. |
| all alive | Selects all living actors and enemies. |
| all members | Selects all living and dead actors and enemies. |
| all dead | Selects all dead actors and enemies. |
| all not user | This will select all living battlers except user. |
| focus | Selects the active battler and its targets. |
| not focus | Selects everything but the active battler and its targets. |
| prev target | Requires Action Sequence Impact.
During <Target Actions>, this will get the previous target in the targets list. |
| next target | Requires Action Sequence Impact.
During <Target Actions>, this will get the next target in the targets list. |
| $UnisonMemberX | Requires Unison Attack.
Replace X with the Unison Attack participant where X is slot used based on the <Unison Skill: x, y, z> notetag. |
| $UnisonMembers | Requires Unison Attack.
Returns all of the participating Unison Skill members. |
Action Sequence List
The following is a list of Action Sequences provided by this plugin.
If you are using YEP Battle Engine Core, there is an action sequence that lets you switch weapons for the actor in the middle of an action sequence:
Weapon Swap: targets, x
or
Weapon Swap: targets, text
or
Swap Weapon: targets, x
or
Swap Weapon: targets, text
Use x with the weapon type ID in the Database Type tab. Or use text and replace it with the name of the weapon type. If you use the name of the weapon type, type it out exactly as it is spelled because it is case sensitive.
Changelog
- Sep 8 2018: Added Battle Test Weapons plugin parameter
- Sep 9 2018: New notetags added: <Require Any Weapon> and <Require Weapon Types: x> and added new parameters: Extend Equip Stat Window
- Sep 11 2018: Bug fix for Optimize and Clear weapon. Should be fixed now. Added a new parameter: Show Swap Arrows?
- Sep 18 2018: Add fail safe: battle test will not provide weapon types that don't have weapons made for them and give you a warning.
- Sep 23 2018: Bug fix for Battle Test Weapon. Can now be turned off.